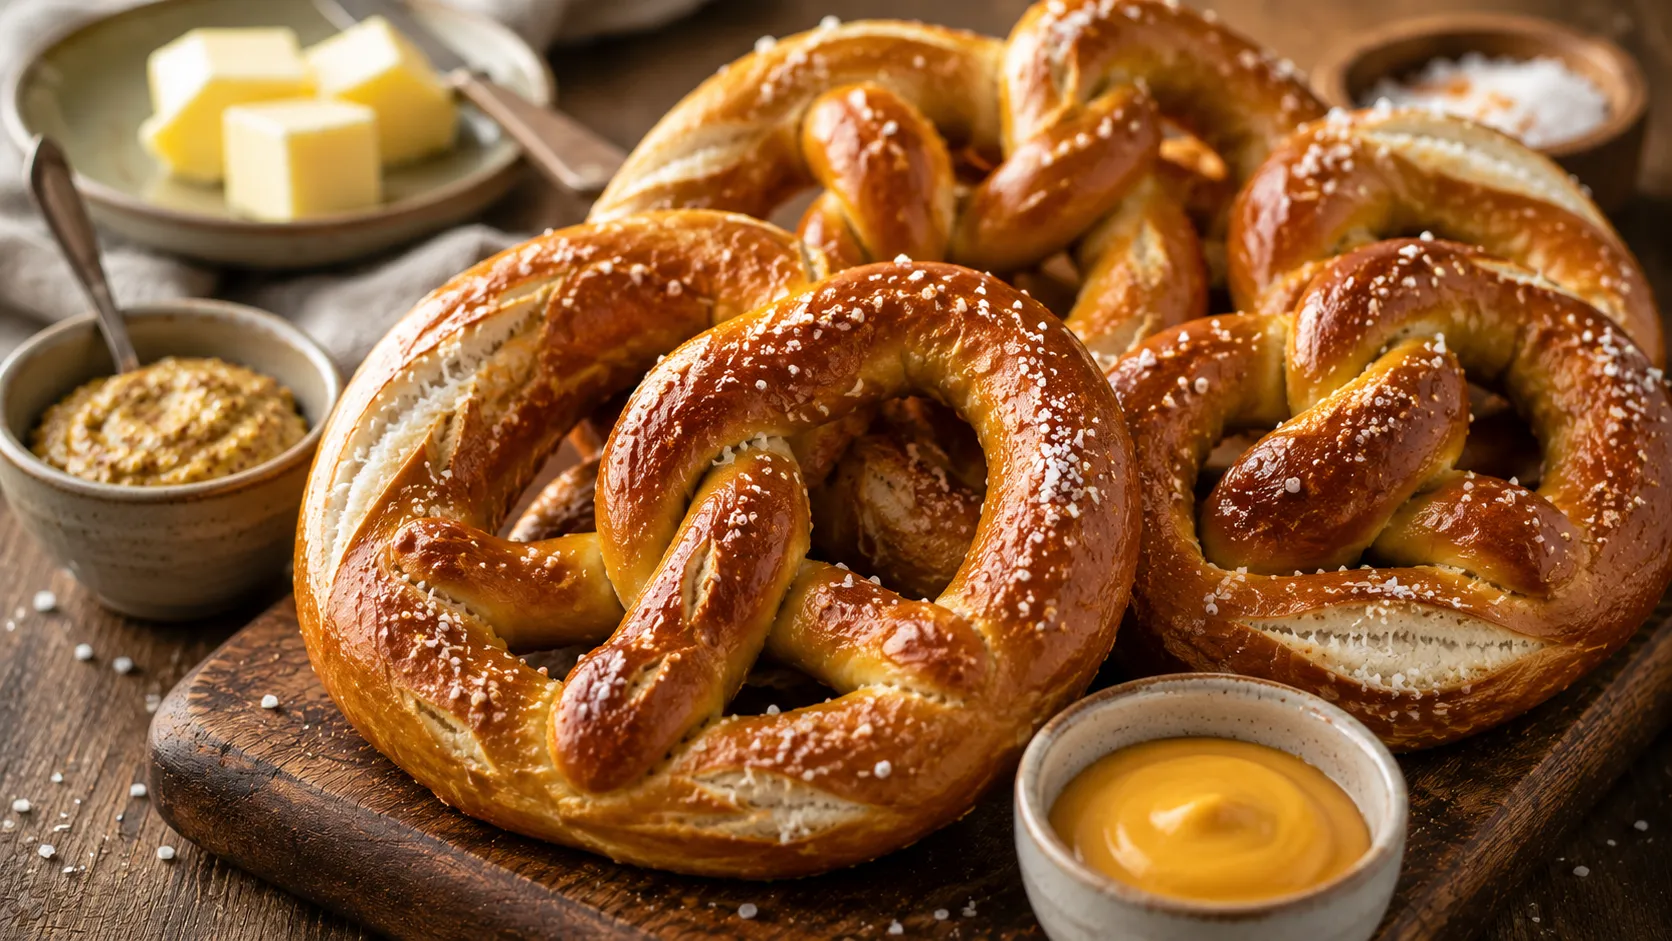
Few mall food court snacks are as unforgettable as a warm, buttery Pretzelmaker Pretzel fresh from the oven. The golden crust, chewy center, and light sprinkle of salt create a comforting snack that feels both simple and special.
This homemade version captures the same bakery-style flavor and texture using easy ingredients and beginner-friendly techniques. The result is a soft pretzel with a lightly crisp exterior and a fluffy, chewy interior that tastes amazing straight from the oven.
In my experience, homemade pretzels always impress guests because they look bakery-quality while being surprisingly easy to make. Whether you’re serving them for a family snack, game day gathering, or cozy weekend treat, this recipe delivers that classic Pretzelmaker-inspired experience right in your own kitchen.
Experiment with dipping sauces such as cheese sauce, honey mustard, ranch, or chocolate spread for a fun serving experience.
Why You’ll Love This Recipe
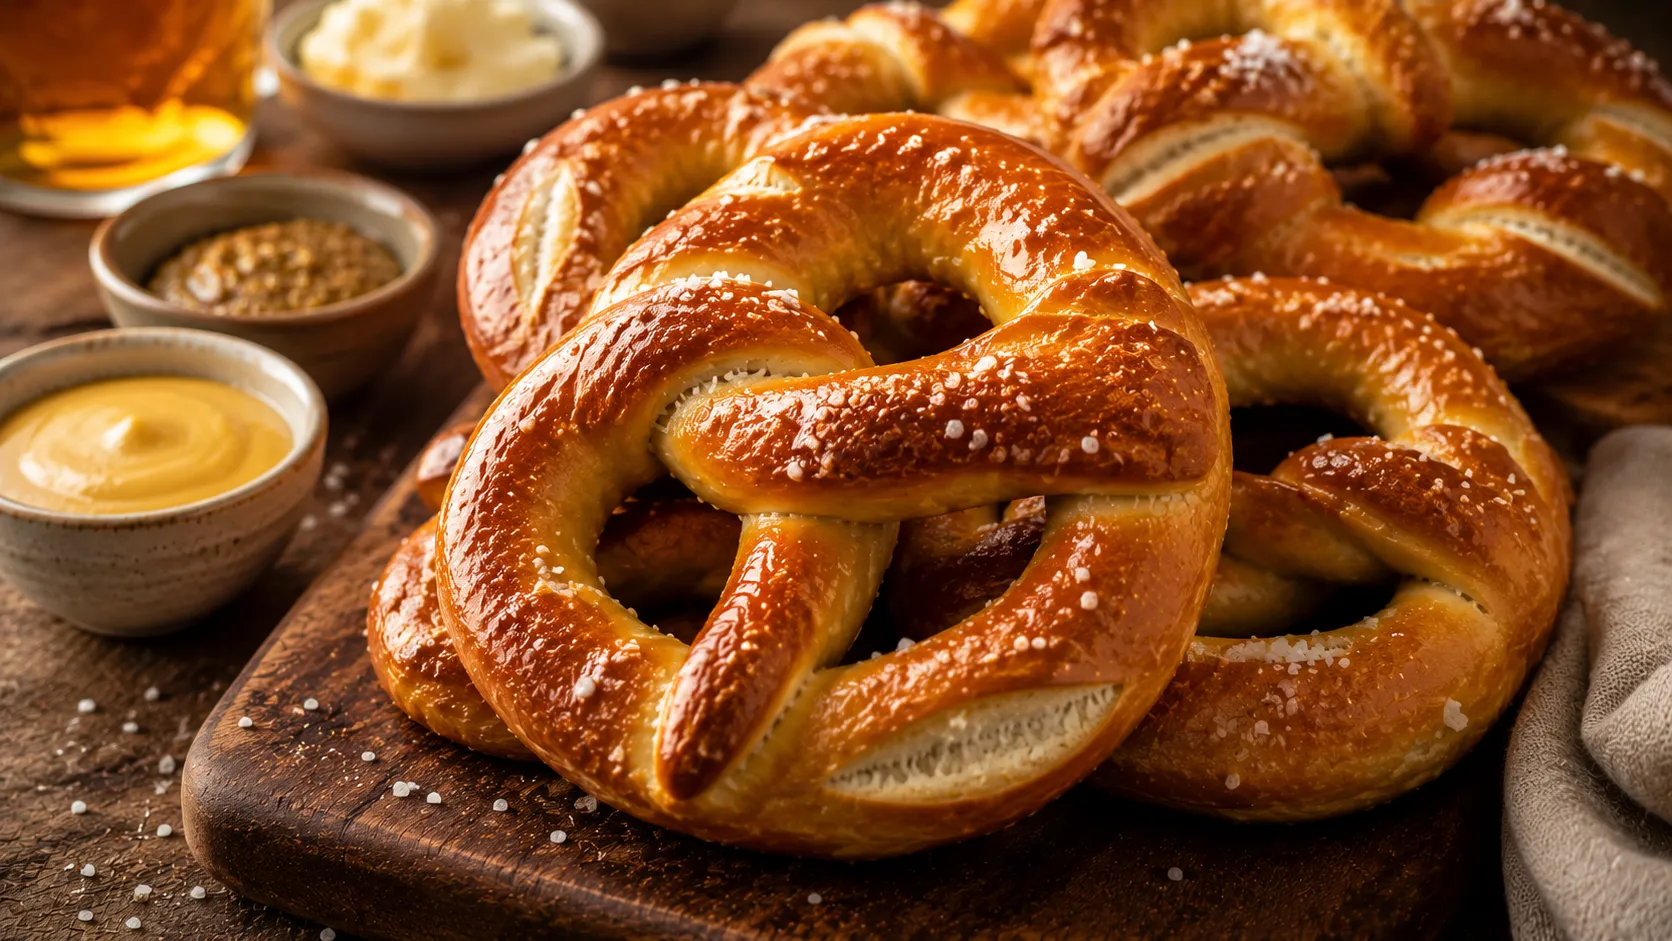
This recipe brings the beloved Pretzelmaker flavor into your home without complicated techniques or special equipment. The dough is easy to work with, making it perfect even for first-time bakers.
The texture is one of the biggest highlights. You get a slightly crisp outer layer with a soft and chewy center that pulls apart beautifully. The buttery finish adds incredible flavor and aroma.
I’ve noticed that homemade pretzels often taste fresher and more satisfying than store-bought versions because they come straight from your oven. They are also versatile and pair wonderfully with cheese sauce, mustard, or sweet cinnamon sugar toppings depending on your mood.
If you enjoy sweet snacks, skip the salt and coat warm pretzels in cinnamon sugar.
Ingredients
- 4 cups all-purpose flour
- 1 packet active dry yeast (2¼ teaspoons)
- 1½ cups warm water
- 2 tablespoons granulated sugar
- 1 teaspoon salt
- 3 tablespoons unsalted butter, melted
- ⅔ cup baking soda
- 8 cups water
- 2 tablespoons melted butter for brushing
- 2 tablespoons coarse pretzel salt
These simple ingredients work together to create the signature flavor and texture of a Pretzelmaker Pretzel. The baking soda bath is especially important because it helps develop the traditional golden-brown crust and chewy bite that makes soft pretzels so irresistible.
How to Make It
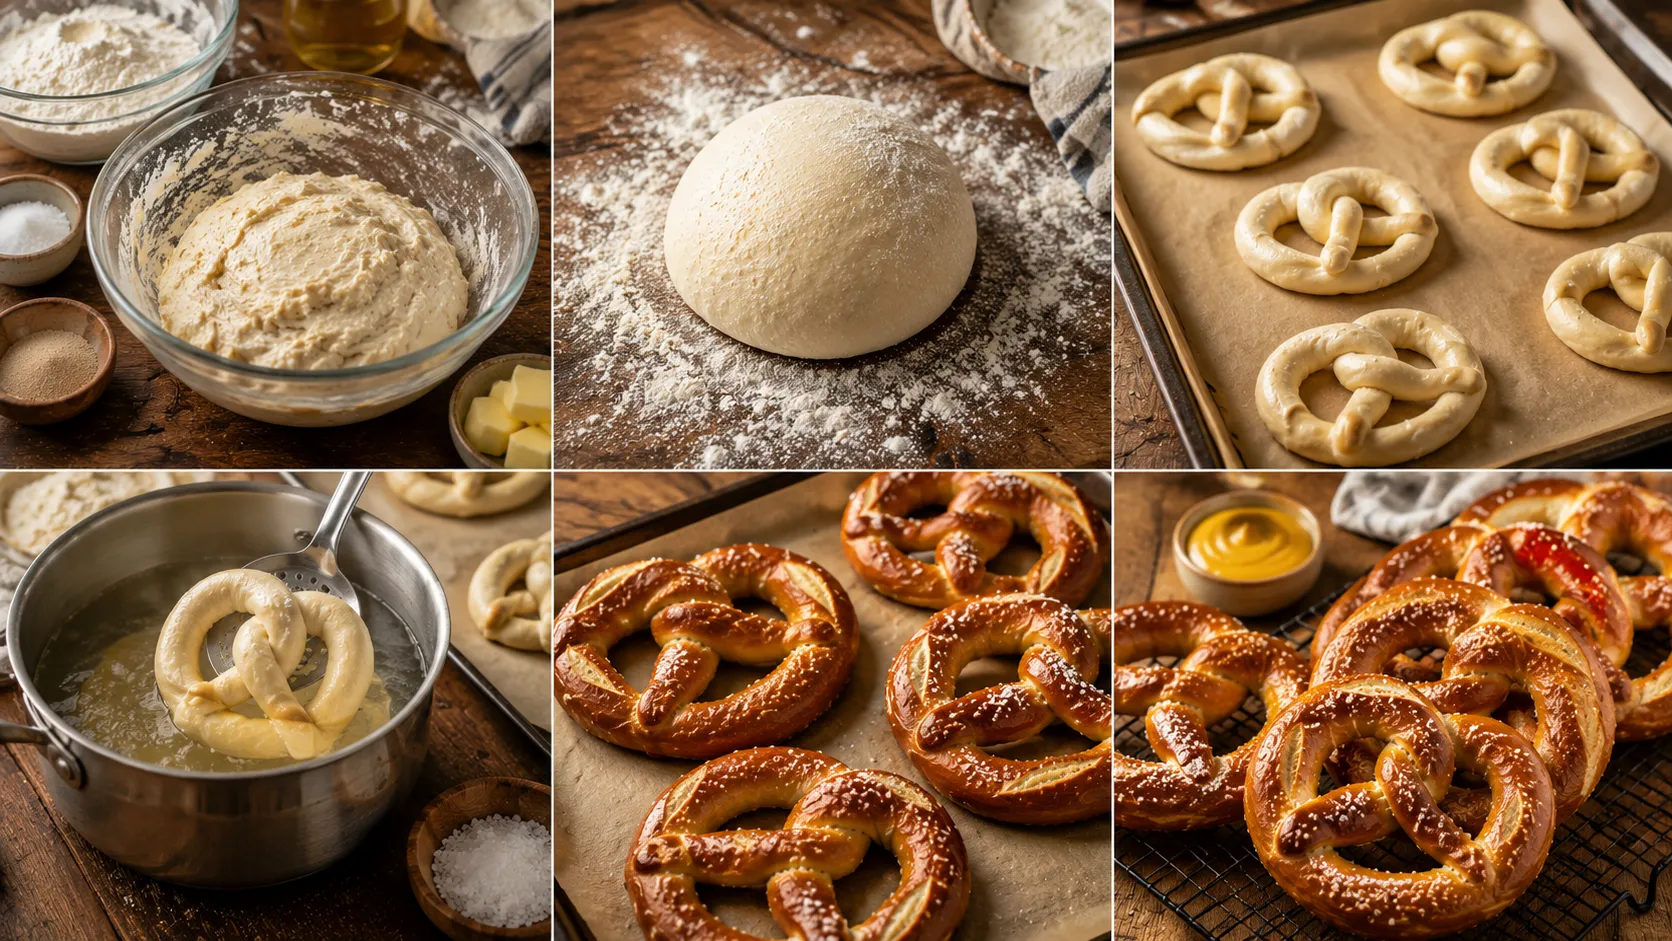
Whether you’re preparing an afternoon snack, party appetizer, or family treat, these pretzels bring bakery-style comfort straight to your kitchen.
Step 1
In a large mixing bowl, combine the warm water, sugar, and yeast. Let the mixture sit for about five minutes until it becomes slightly foamy on top. This step helps activate the yeast and ensures your dough rises properly. Add the salt and melted butter, then gradually stir in the flour. Continue mixing until a soft dough starts forming. The dough should be slightly tacky but not overly sticky. If it feels too wet, add a little more flour one tablespoon at a time until manageable.
Step 2
Transfer the dough onto a lightly floured surface and knead it for about eight minutes. Use steady pressure and fold the dough repeatedly until it becomes smooth and elastic. Proper kneading develops the gluten structure, giving the pretzels their signature chewiness. I’ve noticed that many beginners stop too soon, but spending the full kneading time makes a noticeable difference. Once the dough feels smooth and springs back gently when pressed, place it into a lightly greased bowl and cover it with a clean kitchen towel.
Step 3
Allow the dough to rise in a warm place for approximately one hour or until doubled in size. During this time, the yeast creates air pockets that help produce a light interior texture. While waiting, prepare your baking sheet with parchment paper. Once the dough has fully risen, gently punch it down to release excess air. This step creates a more even texture and makes shaping much easier. The dough should feel soft, airy, and easy to handle without being overly sticky.
Step 4
Divide the dough into eight equal portions. Roll each piece into a rope approximately twenty inches long. Shape each rope into a classic pretzel by creating a U-shape, crossing the ends twice, and pressing them onto the bottom curve. Don’t worry if your first few pretzels aren’t perfect. In my experience, the rustic handmade appearance often makes them look even more appealing. Arrange the shaped pretzels on the prepared baking sheet while you prepare the baking soda bath.
Step 5
Bring eight cups of water to a gentle boil in a large pot and carefully add the baking soda. Working one pretzel at a time, lower each pretzel into the solution for about thirty seconds. This quick bath is what creates the signature Pretzelmaker-style crust and rich golden color. Use a slotted spoon to remove each pretzel and return it to the baking sheet. Allow any excess water to drain before continuing with the next pretzel.
Step 6
Brush each pretzel lightly with melted butter and sprinkle generously with coarse pretzel salt. The butter helps enhance flavor while encouraging beautiful browning during baking. Make sure the salt is distributed evenly across the surface. At this stage, you can also customize the pretzels with garlic seasoning, cinnamon sugar, or parmesan if desired. I’ve tried several variations, and this step provides the perfect opportunity to personalize the recipe according to your family’s preferences.
Step 7
Bake the pretzels in a preheated 425°F (220°C) oven for approximately twelve to fifteen minutes. Watch carefully during the final few minutes as they develop their deep golden-brown color. The kitchen will begin filling with the unmistakable aroma of freshly baked bread and butter. Once baked, remove them from the oven and immediately brush with additional melted butter. This final coating adds shine, softness, and extra flavor while the pretzels are still warm from baking.
Whether you’re serving them for a family snack, game day gathering, or cozy weekend treat, this recipe delivers that classic Pretzelmaker-inspired experience right in your own kitchen.
Cooking Tips / Variations
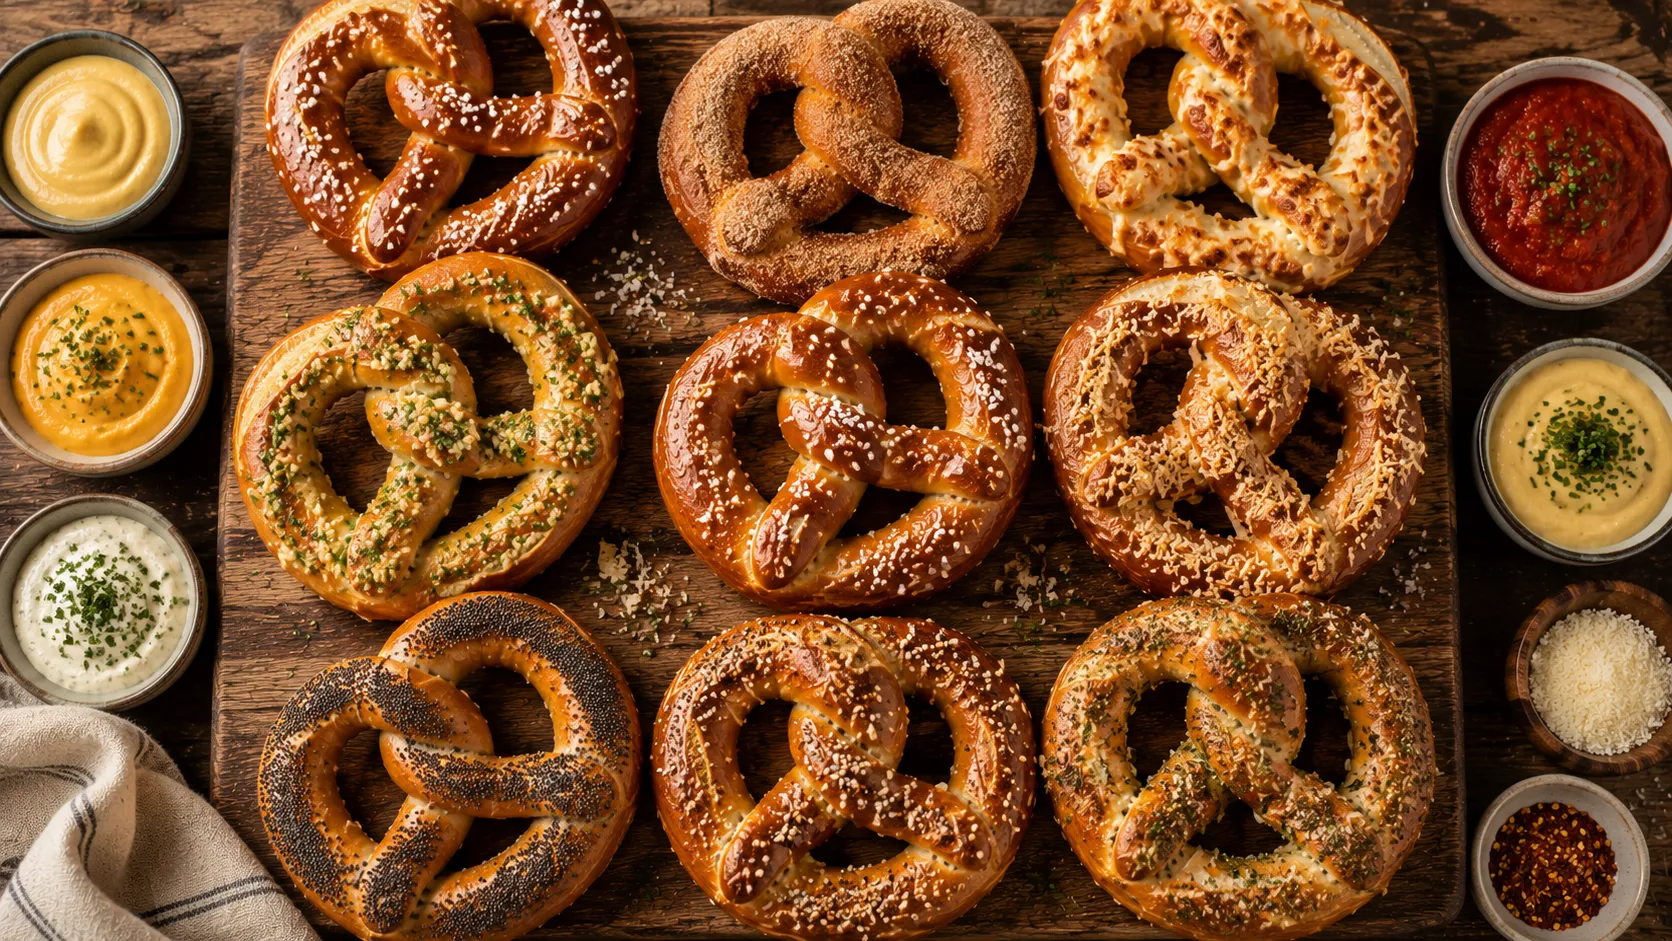
For the best texture, avoid adding too much flour during kneading. Slightly soft dough creates a fluffier interior after baking.
If you enjoy sweet snacks, skip the salt and coat warm pretzels in cinnamon sugar. For savory lovers, garlic butter and parmesan create an excellent variation.
I’ve noticed that using fresh yeast produces a more reliable rise and softer texture. Also, do not skip the baking soda bath. It is the secret behind the authentic Pretzelmaker Pretzel appearance and chewiness.
Experiment with dipping sauces such as cheese sauce, honey mustard, ranch, or chocolate spread for a fun serving experience.
Few mall food court snacks are as unforgettable as a warm, buttery Pretzelmaker pretzel snowflakes fresh from the oven.
Serving or Storage Tips
Serve these pretzels warm for the best flavor and texture. Fresh from the oven, they have a wonderfully chewy center and buttery aroma that makes them hard to resist.
Store leftover pretzels in an airtight container at room temperature for up to two days. For longer storage, freeze them individually and reheat as needed.
To reheat, warm them in a 350°F oven for about five minutes. This helps restore their soft texture better than microwaving. I’ve found that a quick brush of melted butter before reheating makes them taste freshly baked again.
At this stage, you can also customize the pretzels with garlic seasoning, cinnamon sugar, or parmesan if desired.
Conclusion
This homemade Pretzelmaker Pretzel recipe delivers everything people love about the famous snack—soft texture, chewy bite, buttery flavor, and beautiful golden color. It’s surprisingly simple to make and rewarding for both beginner and experienced bakers.
Whether you’re preparing an afternoon snack, party appetizer, or family treat, these pretzels bring bakery-style comfort straight to your kitchen. Save this recipe on Pinterest for later, give it a try this week, and share it with friends and family who love homemade baked goods.
A warm pretzel fresh from the oven is always worth the effort.
Whether you’re serving them for a family snack, game day gathering, or cozy weekend treat, this recipe delivers that classic Pretzelmaker-inspired experience right in your own kitchen.
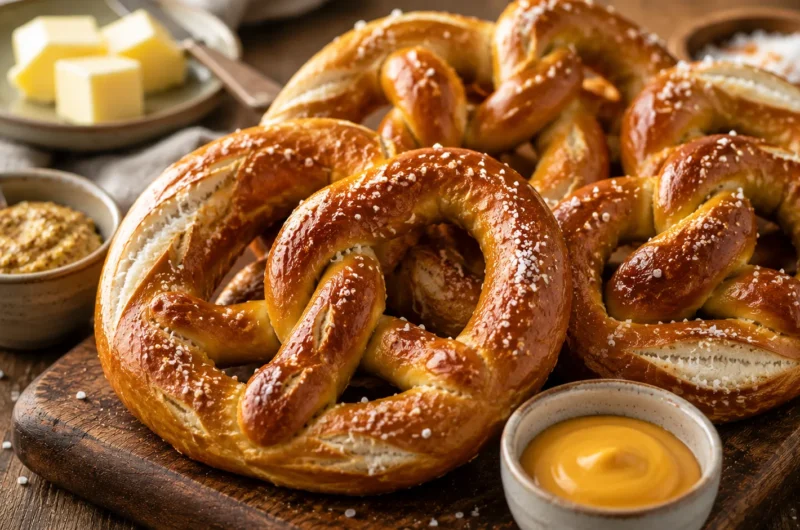
Pretzelmaker Pretzel
8
servings20
minutes15
minutes35
minutesThis Pretzelmaker Pretzel recipe creates soft, chewy, buttery pretzels with a golden-brown crust and authentic bakery-style flavor using simple pantry ingredients.
Ingredients
4 cups all-purpose flour
1 packet active dry yeast (2¼ teaspoons)
1½ cups warm water
2 tablespoons granulated sugar
1 teaspoon salt
3 tablespoons unsalted butter, melted
⅔ cup baking soda
8 cups water
2 tablespoons melted butter for brushing
2 tablespoons coarse pretzel salt
How to Make it
- In a large mixing bowl, combine the warm water, sugar, and yeast. Let the mixture sit for about five minutes until it becomes slightly foamy on top. This step helps activate the yeast and ensures your dough rises properly. Add the salt and melted butter, then gradually stir in the flour. Continue mixing until a soft dough starts forming. The dough should be slightly tacky but not overly sticky. If it feels too wet, add a little more flour one tablespoon at a time until manageable.
- Transfer the dough onto a lightly floured surface and knead it for about eight minutes. Use steady pressure and fold the dough repeatedly until it becomes smooth and elastic. Proper kneading develops the gluten structure, giving the pretzels their signature chewiness. I’ve noticed that many beginners stop too soon, but spending the full kneading time makes a noticeable difference. Once the dough feels smooth and springs back gently when pressed, place it into a lightly greased bowl and cover it with a clean kitchen towel.
- Allow the dough to rise in a warm place for approximately one hour or until doubled in size. During this time, the yeast creates air pockets that help produce a light interior texture. While waiting, prepare your baking sheet with parchment paper. Once the dough has fully risen, gently punch it down to release excess air. This step creates a more even texture and makes shaping much easier. The dough should feel soft, airy, and easy to handle without being overly sticky.
- Divide the dough into eight equal portions. Roll each piece into a rope approximately twenty inches long. Shape each rope into a classic pretzel by creating a U-shape, crossing the ends twice, and pressing them onto the bottom curve. Don’t worry if your first few pretzels aren’t perfect. In my experience, the rustic handmade appearance often makes them look even more appealing. Arrange the shaped pretzels on the prepared baking sheet while you prepare the baking soda bath.
- Bring eight cups of water to a gentle boil in a large pot and carefully add the baking soda. Working one pretzel at a time, lower each pretzel into the solution for about thirty seconds. This quick bath is what creates the signature Pretzelmaker-style crust and rich golden color. Use a slotted spoon to remove each pretzel and return it to the baking sheet. Allow any excess water to drain before continuing with the next pretzel.
- Brush each pretzel lightly with melted butter and sprinkle generously with coarse pretzel salt. The butter helps enhance flavor while encouraging beautiful browning during baking. Make sure the salt is distributed evenly across the surface. At this stage, you can also customize the pretzels with garlic seasoning, cinnamon sugar, or parmesan if desired. I’ve tried several variations, and this step provides the perfect opportunity to personalize the recipe according to your family’s preferences.
- Bake the pretzels in a preheated 425°F (220°C) oven for approximately twelve to fifteen minutes. Watch carefully during the final few minutes as they develop their deep golden-brown color. The kitchen will begin filling with the unmistakable aroma of freshly baked bread and butter. Once baked, remove them from the oven and immediately brush with additional melted butter. This final coating adds shine, softness, and extra flavor while the pretzels are still warm from baking.
Notes
- Allow the dough to rise fully for the softest texture.
- Do not skip the baking soda bath for authentic results.
- Brush with butter immediately after baking for extra flavor.
- Pretzels taste best served warm from the oven.
- Freeze leftovers for quick future snacks.
Popular options include warm cheese sauce, honey mustard, ranch dressing, garlic butter, and cinnamon cream cheese dip.
FAQ 1: Can I make Pretzelmaker Pretzel dough ahead of time?
Yes. You can prepare the dough and refrigerate it overnight after the first rise. Allow it to come closer to room temperature before shaping and baking the next day for the best texture.
FAQ 2: What can I use instead of pretzel salt?
Coarse sea salt works very well as a substitute. You can also use flaky salt for a slightly different texture while still achieving a traditional Pretzelmaker Pretzel flavor.
FAQ 3: Why is the baking soda bath important?
The baking soda bath creates the classic chewy crust and deep golden color associated with a Pretzelmaker Pretzel. Skipping this step results in a softer bread-like texture instead.
FAQ 4: Can I freeze homemade pretzels?
Absolutely. Allow the pretzels to cool completely, then freeze them in airtight bags for up to three months. Reheat directly from frozen in the oven for best results.
FAQ 5: What dips pair best with Pretzelmaker Pretzel?
Popular options include warm cheese sauce, honey mustard, ranch dressing, garlic butter, and cinnamon cream cheese dip. Each adds a different flavor profile and makes serving even more enjoyable.