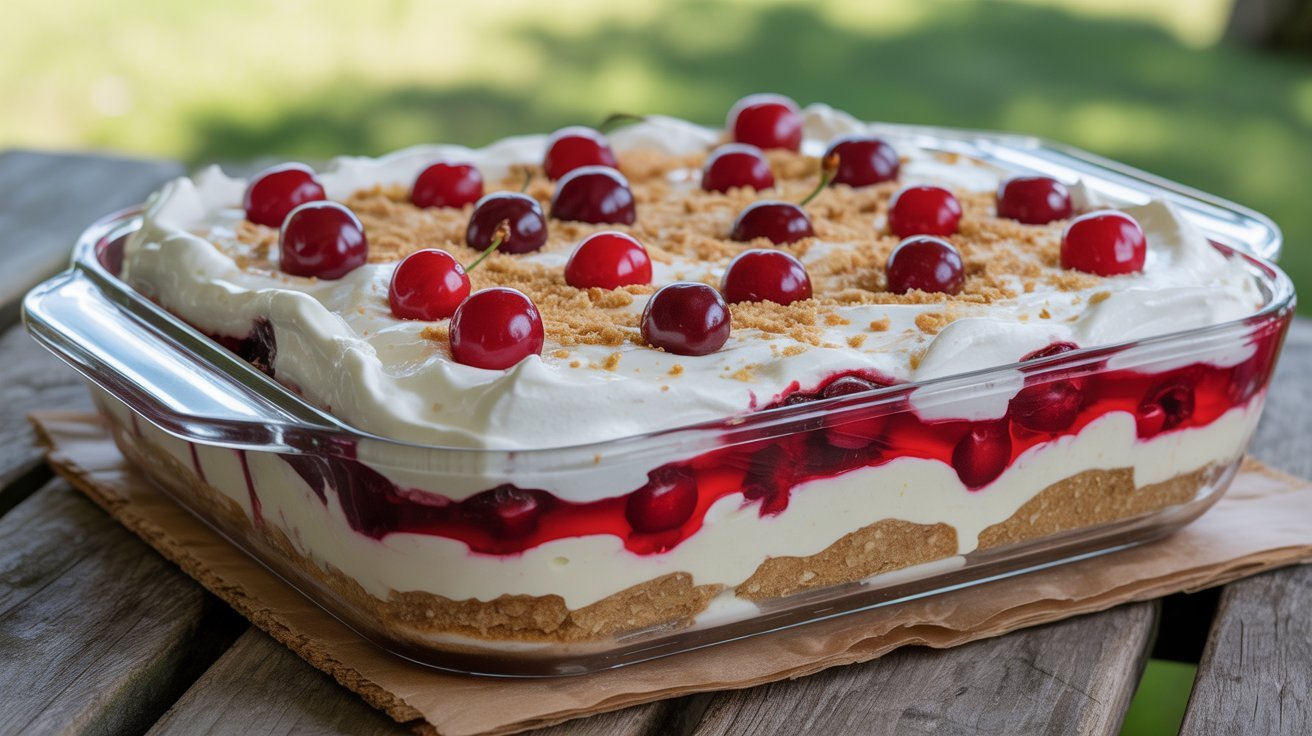
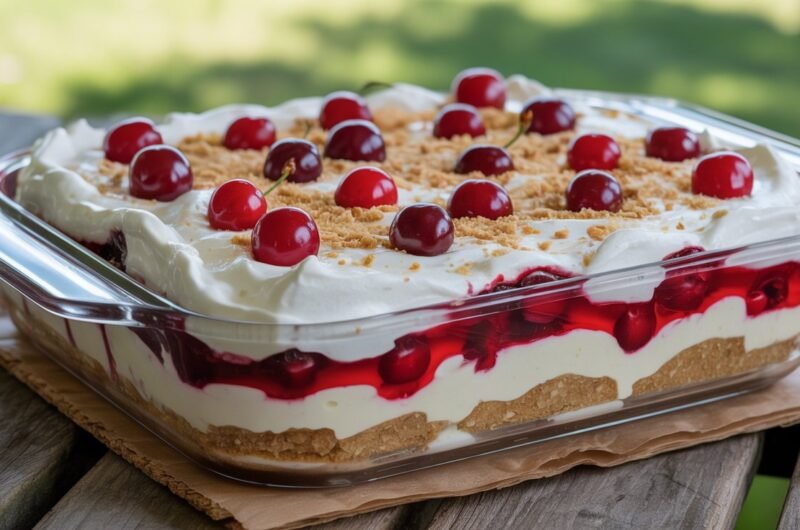
Cherry Yum Yum is the kind of no-bake dessert that instantly grabs attention at family gatherings and holiday tables. With its creamy cheesecake-style filling, buttery graham cracker crust, and glossy cherry topping, it delivers the perfect mix of sweet, tangy, and refreshing flavors in every bite. It feels light yet rich at the same time, which is one reason so many people keep coming back for seconds.
What makes this dessert extra special is how simple it is to prepare. There is no complicated baking process, and the layers come together beautifully with very little effort. In my experience, recipes like this are perfect when you need something impressive without spending hours in the kitchen. I’ve noticed Cherry Yum Yum is also one of those desserts people always ask for after trying it once because it looks stunning and tastes even better chilled.
Why You’ll Love This Recipe
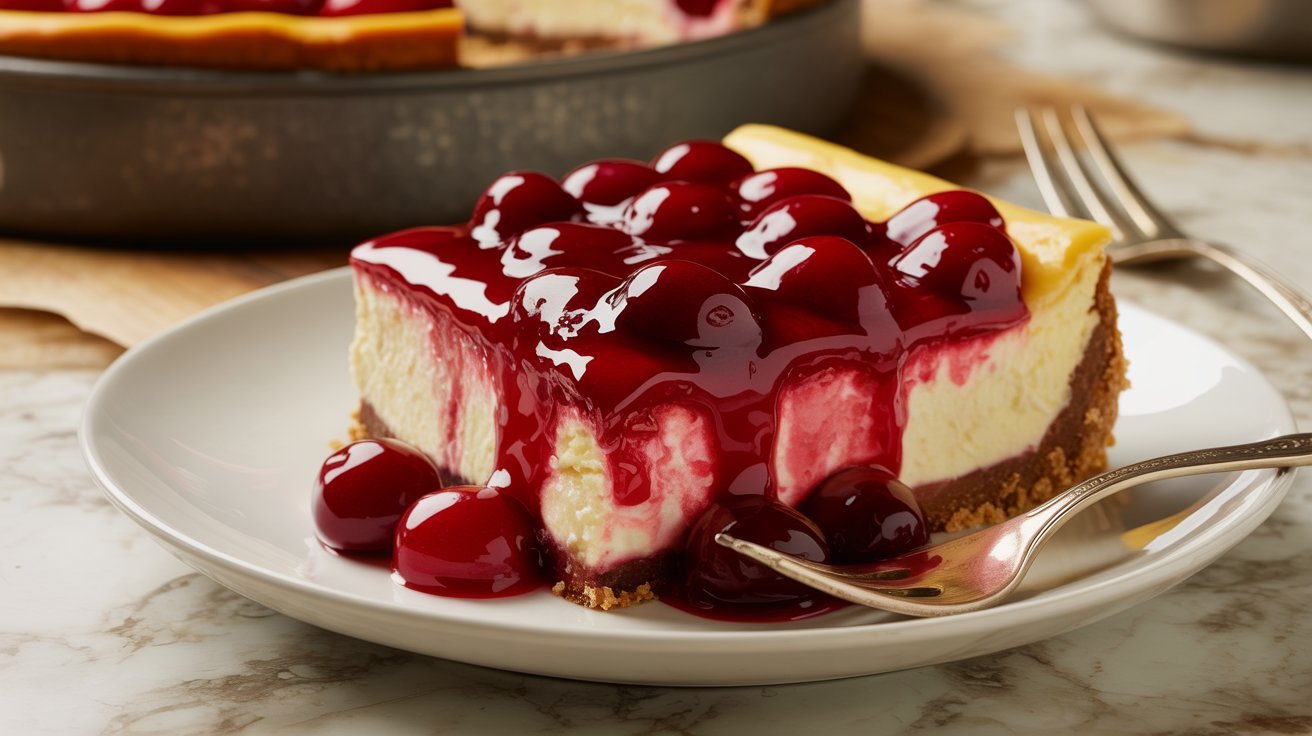
Cherry Yum Yum is one of those desserts that feels comforting, nostalgic, and elegant all at once. The creamy filling melts smoothly in every bite while the cherry topping adds a bright fruity flavor that balances the sweetness perfectly. The buttery crust gives the dessert a soft crunch that ties everything together beautifully.
One reason readers love this recipe is how easy it is to make ahead for parties, holidays, or weekend dinners. I’ve tried this recipe before busy gatherings, and it always saves time because chilling does most of the work. It is beginner friendly, requires simple ingredients, and looks gorgeous on the table. Plus, the chilled texture makes it especially refreshing during warmer months.
Ingredients
- 2 cups graham cracker crumbs
- ½ cup melted butter
- 8 ounces cream cheese, softened
- 1 cup powdered sugar
- 1 teaspoon vanilla extract
- 1 container whipped topping, thawed
- 2 cans cherry pie filling
- 1 tablespoon granulated sugar
- Fresh cherries for garnish
- Extra graham cracker crumbs for topping
Cherry Yum Yum uses simple pantry-friendly ingredients that come together into a rich and creamy dessert with almost no stress. The graham cracker crust creates a buttery base that holds the soft filling perfectly, while the cherry topping adds bright sweetness and color. In my experience, using softened cream cheese makes the filling much smoother and easier to mix without lumps. I’ve also noticed that chilling the dessert long enough helps the layers set beautifully and improves the flavor. Fresh cherries on top are optional, but they make the final presentation feel extra special and Pinterest worthy.
How to Make It
Step 1
Start by preparing the graham cracker crust. In a medium mixing bowl, combine the graham cracker crumbs, melted butter, and granulated sugar until the texture looks like wet sand. Stir slowly so every crumb becomes coated evenly. Press most of the mixture firmly into the bottom of a glass baking dish using the back of a spoon or measuring cup. This helps create a stable crust that holds together when sliced later. I’ve noticed pressing gently but firmly gives the crust the perfect texture without becoming too hard after chilling. Reserve a small amount of crumbs for topping later if desired.
Step 2
Place the softened cream cheese into a large mixing bowl and beat it until smooth and creamy. Slowly add the powdered sugar and vanilla extract while mixing continuously. Keep blending until the mixture looks fluffy and silky with no visible lumps. This step matters because the cream cheese layer is the heart of Cherry Yum Yum and gives the dessert its rich cheesecake-like texture. In my experience, letting the cream cheese sit at room temperature for about twenty minutes makes the mixing process much easier and creates a smoother filling that spreads beautifully across the crust.
Step 3
Fold the whipped topping gently into the cream cheese mixture using a spatula. Mix slowly to keep the filling light and airy instead of dense. Continue folding until everything becomes evenly combined with a soft fluffy texture. The whipped topping helps balance the richness of the cream cheese while giving the dessert its signature cloud-like consistency. I’ve tried rushing this step before, and the filling became heavier than expected, so slow folding really makes a difference. Once fully mixed, the filling should look smooth, creamy, and easy to spread across the prepared crust.
Step 4
Carefully spread the cream cheese mixture over the prepared graham cracker crust using an offset spatula or the back of a spoon. Work slowly to create an even layer from corner to corner. This helps every slice look clean and balanced once served. The creamy filling should sit thickly over the crust without sinking. I’ve noticed using gentle spreading motions prevents the crust from pulling apart underneath. Take your time here because neat layers make Cherry Yum Yum look extra beautiful when chilled and sliced. The contrast between the creamy white filling and red cherries becomes especially eye-catching later.
Step 5
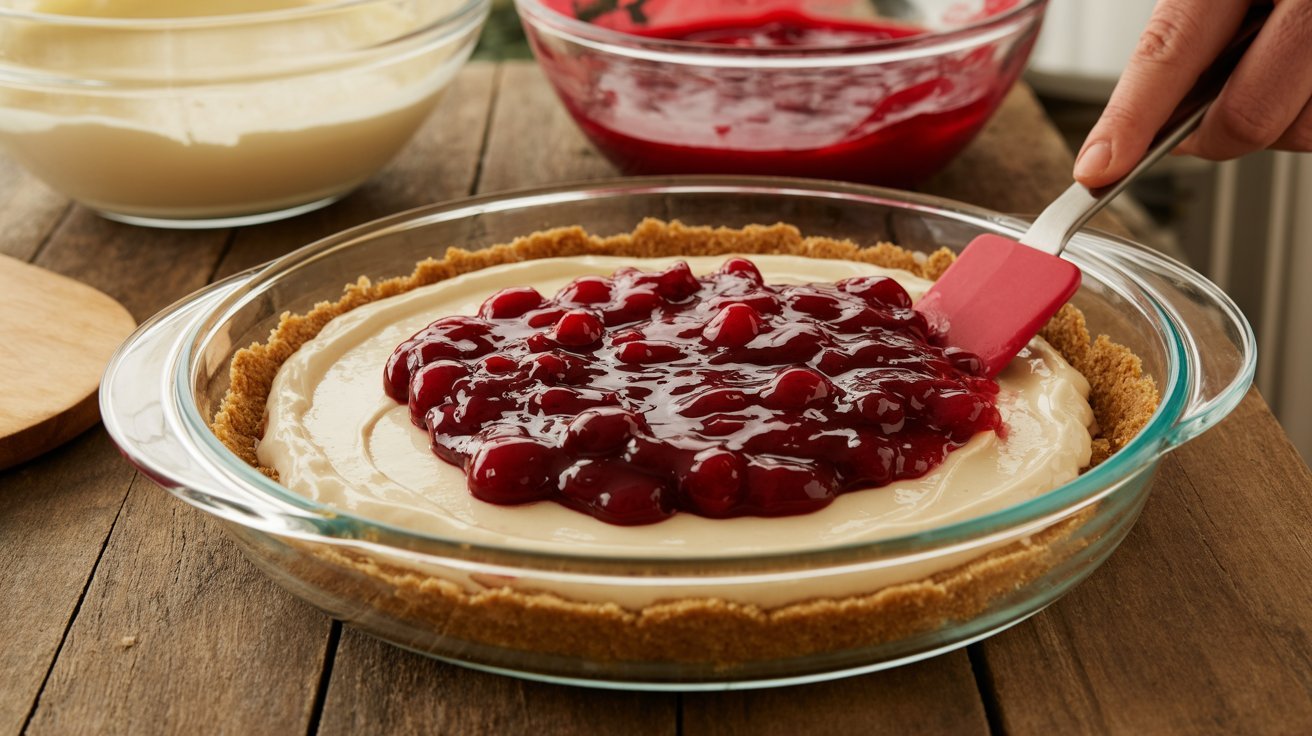
Open the cans of cherry pie filling and spoon the cherries evenly over the cream cheese layer. Spread the topping carefully so the cherries cover the entire surface while keeping the creamy layer underneath smooth. The glossy cherry topping instantly transforms the dessert into something colorful and inviting. In my experience, chilled cherry filling spreads more neatly and helps the layers stay defined. The bright red cherries also add a sweet tart flavor that balances the richness perfectly. Once finished, the dessert should already look vibrant and bakery-style even before refrigeration.
Step 6
Cover the baking dish tightly with plastic wrap or foil and place it in the refrigerator for at least four hours. Chilling is extremely important because it allows the layers to firm up properly and helps the flavors blend together beautifully. I’ve noticed overnight chilling gives the best texture because the crust softens slightly while still holding its shape. Avoid serving the dessert too early because the filling may not slice cleanly. During this time, the creamy filling becomes richer and smoother while the cherry topping settles perfectly on top for a refreshing cold dessert experience.
Step 7
Before serving, sprinkle the reserved graham cracker crumbs lightly over the top for extra texture and visual appeal. Add a few fresh cherries if you want the dessert to look even more elegant and colorful. Slice the Cherry Yum Yum carefully using a sharp knife wiped clean between cuts to keep the layers neat. In my experience, chilled desserts always slice more beautifully with a clean knife. The final result should have visible creamy layers, glossy cherries, and a buttery crust that holds together perfectly while still tasting soft and smooth in every bite.
Cooking Tips / Variations
One helpful tip for Cherry Yum Yum is to always chill it long enough before slicing. The extra refrigeration time helps the creamy filling firm up and improves the texture significantly. I’ve noticed overnight chilling gives the cleanest slices and best flavor balance.
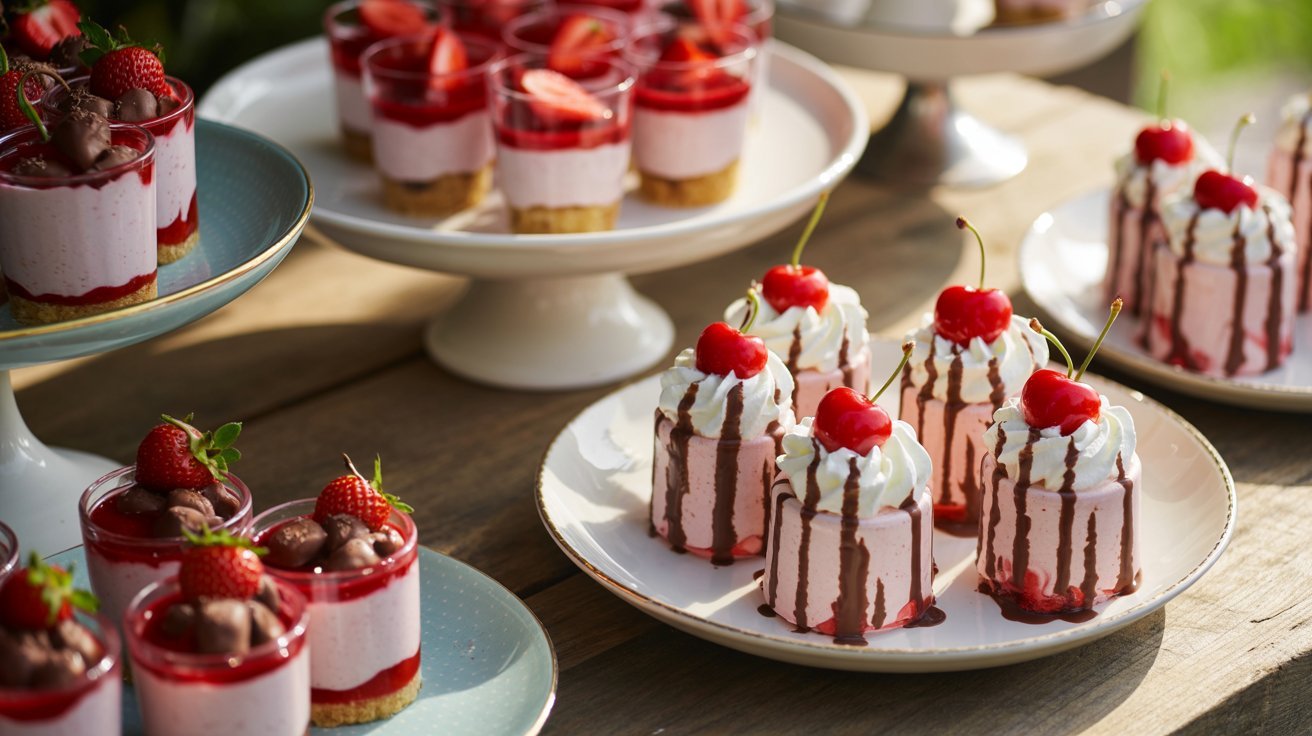
You can also customize this recipe easily depending on the occasion. Strawberry or blueberry pie filling works beautifully if you want a different fruity flavor. For a richer dessert, drizzle melted chocolate on top before serving. I’ve tried making individual servings in small dessert cups, and they looked amazing for parties and holidays. If you prefer a less sweet version, use reduced-sugar pie filling and unsweetened whipped topping for a lighter taste without losing the creamy texture.
Serving or Storage Tips
Cherry Yum Yum tastes best when served cold straight from the refrigerator. The chilled layers feel creamy, refreshing, and perfectly balanced, especially during warmer weather or after a heavy meal. Serve it with coffee, iced tea, or even vanilla ice cream for an extra comforting dessert experience.
Store leftovers covered tightly in the refrigerator for up to four days. I’ve noticed the flavor becomes even better after the first day because the layers settle together beautifully. Avoid leaving the dessert at room temperature for too long since the cream cheese filling softens quickly. If making it ahead for gatherings, prepare it the night before serving for the best texture, cleaner slices, and a more flavorful Cherry Yum Yum dessert.
Conclusion
Cherry Yum Yum is the kind of dessert that feels simple, comforting, and incredibly satisfying all at once. From the buttery graham cracker crust to the creamy filling and bright cherry topping, every layer brings something delicious to the table. It is easy enough for beginners yet beautiful enough for holidays, potlucks, and family celebrations.
One of the best things about this recipe is how effortlessly impressive it looks once chilled and served. Save this Cherry Yum Yum recipe on Pinterest for later, try it in your own kitchen, and share it with friends or family who love creamy no-bake desserts. There is something truly special about serving a homemade dessert that instantly makes everyone smile.
Cherry Yum Yum
12
servings20
minutes20
minutesCherry Yum Yum is a creamy no-bake dessert layered with buttery graham cracker crust, fluffy cheesecake filling, and sweet cherry topping. It is simple to prepare, beautifully refreshing, and perfect for holidays, parties, or easy family desserts.
Ingredients
2 cups graham cracker crumbs
½ cup melted butter
8 ounces cream cheese, softened
1 cup powdered sugar
1 teaspoon vanilla extract
1 container whipped topping, thawed
2 cans cherry pie filling
1 tablespoon granulated sugar
Fresh cherries for garnish
Extra graham cracker crumbs for topping
How to Make it
- Start by preparing the graham cracker crust. In a medium mixing bowl, combine the graham cracker crumbs, melted butter, and granulated sugar until the texture looks like wet sand. Stir slowly so every crumb becomes coated evenly. Press most of the mixture firmly into the bottom of a glass baking dish using the back of a spoon or measuring cup. This helps create a stable crust that holds together when sliced later. I’ve noticed pressing gently but firmly gives the crust the perfect texture without becoming too hard after chilling. Reserve a small amount of crumbs for topping later if desired.
- Place the softened cream cheese into a large mixing bowl and beat it until smooth and creamy. Slowly add the powdered sugar and vanilla extract while mixing continuously. Keep blending until the mixture looks fluffy and silky with no visible lumps. This step matters because the cream cheese layer is the heart of Cherry Yum Yum and gives the dessert its rich cheesecake-like texture. In my experience, letting the cream cheese sit at room temperature for about twenty minutes makes the mixing process much easier and creates a smoother filling that spreads beautifully across the crust.
- Fold the whipped topping gently into the cream cheese mixture using a spatula. Mix slowly to keep the filling light and airy instead of dense. Continue folding until everything becomes evenly combined with a soft fluffy texture. The whipped topping helps balance the richness of the cream cheese while giving the dessert its signature cloud-like consistency. I’ve tried rushing this step before, and the filling became heavier than expected, so slow folding really makes a difference. Once fully mixed, the filling should look smooth, creamy, and easy to spread across the prepared crust.
- Carefully spread the cream cheese mixture over the prepared graham cracker crust using an offset spatula or the back of a spoon. Work slowly to create an even layer from corner to corner. This helps every slice look clean and balanced once served. The creamy filling should sit thickly over the crust without sinking. I’ve noticed using gentle spreading motions prevents the crust from pulling apart underneath. Take your time here because neat layers make Cherry Yum Yum look extra beautiful when chilled and sliced. The contrast between the creamy white filling and red cherries becomes especially eye-catching later.
- Open the cans of cherry pie filling and spoon the cherries evenly over the cream cheese layer. Spread the topping carefully so the cherries cover the entire surface while keeping the creamy layer underneath smooth. The glossy cherry topping instantly transforms the dessert into something colorful and inviting. In my experience, chilled cherry filling spreads more neatly and helps the layers stay defined. The bright red cherries also add a sweet tart flavor that balances the richness perfectly. Once finished, the dessert should already look vibrant and bakery-style even before refrigeration.
- Cover the baking dish tightly with plastic wrap or foil and place it in the refrigerator for at least four hours. Chilling is extremely important because it allows the layers to firm up properly and helps the flavors blend together beautifully. I’ve noticed overnight chilling gives the best texture because the crust softens slightly while still holding its shape. Avoid serving the dessert too early because the filling may not slice cleanly. During this time, the creamy filling becomes richer and smoother while the cherry topping settles perfectly on top for a refreshing cold dessert experience.
- Before serving, sprinkle the reserved graham cracker crumbs lightly over the top for extra texture and visual appeal. Add a few fresh cherries if you want the dessert to look even more elegant and colorful. Slice the Cherry Yum Yum carefully using a sharp knife wiped clean between cuts to keep the layers neat. In my experience, chilled desserts always slice more beautifully with a clean knife. The final result should have visible creamy layers, glossy cherries, and a buttery crust that holds together perfectly while still tasting soft and smooth in every bite.
Notes
- This dessert tastes even better after chilling overnight.
- Use softened cream cheese for the smoothest filling texture.
- Fresh cherries on top make the presentation extra beautiful.
- Keep the dessert refrigerated until serving for cleaner slices.
- You can easily swap the cherry topping with other fruit fillings.
FAQ 1: Can I make Cherry Yum Yum ahead of time?
Yes, Cherry Yum Yum is actually better when made ahead. Chilling the dessert overnight helps the layers firm up and allows the flavors to blend together beautifully. In my experience, preparing it a day before serving creates cleaner slices and an even creamier texture.
FAQ 2: Can I use homemade whipped cream instead of whipped topping?
Yes, homemade whipped cream works well in Cherry Yum Yum. Make sure it is whipped to stiff peaks so the filling stays light and stable. Fresh whipped cream gives the dessert a softer, richer flavor while still keeping the creamy texture people love.
FAQ 3: What other fruit toppings work well for Cherry Yum Yum?
Cherry Yum Yum can easily be customized with other pie fillings like strawberry, blueberry, raspberry, or peach. I’ve tried blueberry topping before, and it created a slightly sweeter flavor with beautiful color contrast. This makes the recipe easy to adapt for different seasons and preferences.
FAQ 4: How should I store leftover Cherry Yum Yum?
Store leftover Cherry Yum Yum tightly covered in the refrigerator for up to four days. Keep it chilled until ready to serve so the cream cheese filling stays firm and creamy. Avoid freezing because the texture may become watery once thawed.
FAQ 5: Why is my Cherry Yum Yum filling too soft?
A soft filling usually happens when the dessert has not chilled long enough or the cream cheese was overly warm during mixing. I’ve noticed allowing at least four hours of refrigeration helps the layers set properly. Using full-fat cream cheese also improves the texture and stability.