
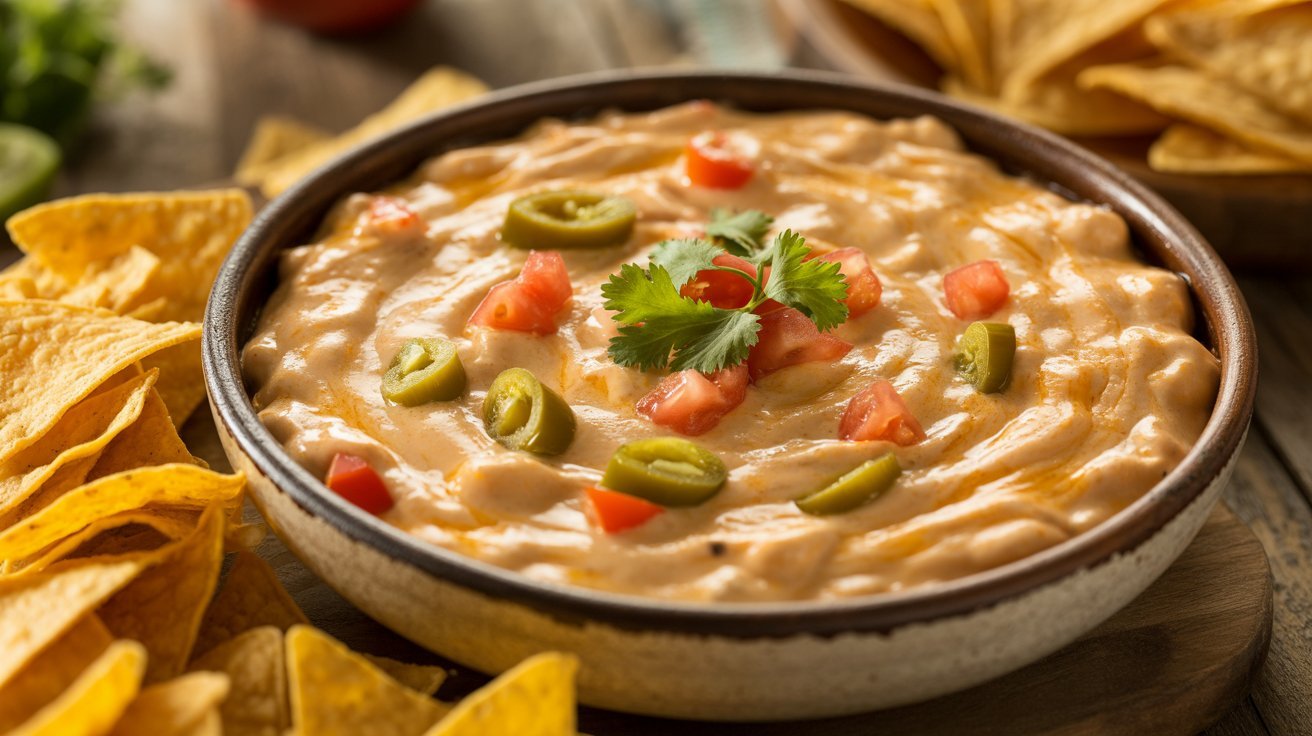
Better Than A Mexican Restaurant Cheese Dip is the kind of creamy, cheesy appetizer that instantly disappears the moment it hits the table. One scoop turns into five, and before you know it, everyone is hovering around the bowl asking for the recipe. It is rich, silky, full of bold flavor, and surprisingly easy to make at home.
What makes this dip special is its ultra-smooth texture and balanced cheesy flavor that tastes just like your favorite restaurant version, only fresher and more comforting. In my experience, homemade cheese dip always tastes better because you can control the richness and spice level exactly how you like it. I’ve noticed that using simple pantry ingredients and melting everything slowly creates the creamiest texture without becoming grainy.
This recipe is perfect for game nights, taco dinners, family gatherings, or even late-night snack cravings. Serve it warm with tortilla chips, tacos, fries, or soft pretzels, and it instantly becomes the highlight of the table.
Why You’ll Love This Recipe

This cheese dip is creamy, comforting, and packed with the bold flavor people love from restaurant-style queso. The texture stays smooth and scoopable, making it perfect for dipping chips, drizzling over nachos, or spooning onto tacos and burritos.
One of the best things about this recipe is how beginner friendly it is. You do not need fancy ingredients or complicated cooking techniques. Everything melts together in one pan with minimal effort. I’ve tried this recipe for casual movie nights and larger family gatherings, and it always disappears quickly.
You can also customize the spice level easily. Add jalapeños for extra heat or keep it mild for kids and picky eaters. It is simple, satisfying, and guaranteed to become a repeat favorite.
Ingredients
- 16 ounces white American cheese, cubed
- 1 cup whole milk
- 2 tablespoons unsalted butter
- 1 can diced tomatoes with green chilies
- 1 teaspoon garlic powder
- 1 teaspoon onion powder
- 1 small jalapeño, finely diced
- ¼ teaspoon cumin
- ¼ teaspoon salt
- 2 tablespoons chopped fresh cilantro
- Tortilla chips for serving
This ingredient list keeps the recipe simple while still creating rich restaurant-style flavor. White American cheese melts beautifully and gives the dip its signature smooth texture. In my experience, using whole milk instead of low-fat milk creates a creamier consistency that stays silky longer.
The diced tomatoes with green chilies add gentle heat and freshness without overpowering the cheese. Fresh cilantro brightens the flavor and gives the finished dip that authentic restaurant-style touch. Everything works together to create a warm, creamy appetizer that tastes comforting and flavorful in every bite.
How to Make It

Step 1
Start by cutting the white American cheese into small cubes so it melts evenly and quickly. In my experience, smaller cubes help prevent clumping and create a smoother dip. Measure all the remaining ingredients before turning on the heat because this recipe moves quickly once the cheese starts melting. Set a medium saucepan or skillet on the stove and add the butter along with the milk. Heat everything gently over low to medium-low heat while stirring occasionally. Avoid high heat because cheese can separate or turn grainy if it gets too hot too fast during cooking.
Step 2
Once the butter has melted into the milk, slowly add the cubed cheese a handful at a time while stirring constantly. This gradual process helps the cheese melt smoothly instead of forming lumps. I’ve noticed that patience makes a huge difference here. Let each handful melt almost completely before adding more. Continue stirring slowly with a wooden spoon or silicone spatula to keep the mixture silky and creamy. The dip should begin turning glossy and thick while still remaining smooth enough to pour. Keep the heat low during the entire melting process for the best texture.
Step 3
After the cheese has fully melted, stir in the diced tomatoes with green chilies along with the finely chopped jalapeño. Mix everything gently so the vegetables spread evenly throughout the dip. The tomatoes add freshness while the jalapeño brings a little extra warmth and spice. If you prefer a milder cheese dip, you can remove the jalapeño seeds before adding them. I’ve tried this both ways, and keeping a few seeds adds just enough heat without becoming overwhelming. Let the mixture simmer gently for a couple of minutes so all the flavors combine beautifully.
Step 4
Add the garlic powder, onion powder, cumin, and salt to the warm cheese mixture. Stir carefully until all the seasonings are fully blended into the dip. This is where the flavor really starts tasting like classic restaurant queso. The cumin adds subtle warmth while the garlic and onion create a rich savory balance. In my experience, seasoning gradually works best because different cheeses contain different amounts of salt. Taste the dip after stirring and adjust if needed. Continue cooking over low heat for another two to three minutes while stirring often to maintain the creamy texture.
Step 5
If the cheese dip feels too thick, slowly add a splash of extra milk while stirring continuously. The consistency should be smooth, creamy, and easy to scoop with chips. I’ve noticed that the dip naturally thickens as it sits, so slightly thinner is usually better while it is still hot on the stove. Keep stirring gently to maintain the glossy texture and prevent sticking at the bottom of the pan. Avoid boiling the dip because high heat can change the smooth consistency. Low and slow cooking always creates the best restaurant-style results.
Step 6
Turn off the heat and stir in the freshly chopped cilantro right before serving. The fresh herbs brighten the rich cheesy flavor and add beautiful color to the finished dip. Transfer the warm cheese dip into a serving bowl immediately while it is smooth and creamy. I’ve tried leaving it in the hot pan too long, and it tends to thicken faster that way. Arrange tortilla chips, sliced vegetables, or warm soft pretzels around the bowl for easy dipping. The glossy melted cheese and colorful toppings make this recipe look incredibly inviting on the table.
Step 7
Serve the cheese dip while still warm for the best flavor and texture. This dip pairs perfectly with crunchy tortilla chips, tacos, burritos, fries, or even grilled chicken. If serving at a party, keep the dip warm in a small slow cooker on the lowest heat setting. I’ve noticed this helps maintain the creamy consistency for hours without drying out. Stir occasionally and add a splash of milk if needed. The rich aroma, silky texture, and bold cheesy flavor make this recipe feel comforting, festive, and completely irresistible from the very first bite.
Cooking Tips / Variations
For the smoothest cheese dip, always melt the cheese slowly over low heat. High heat can make the texture grainy or oily. In my experience, stirring constantly while adding cheese gradually creates the creamiest results every time.
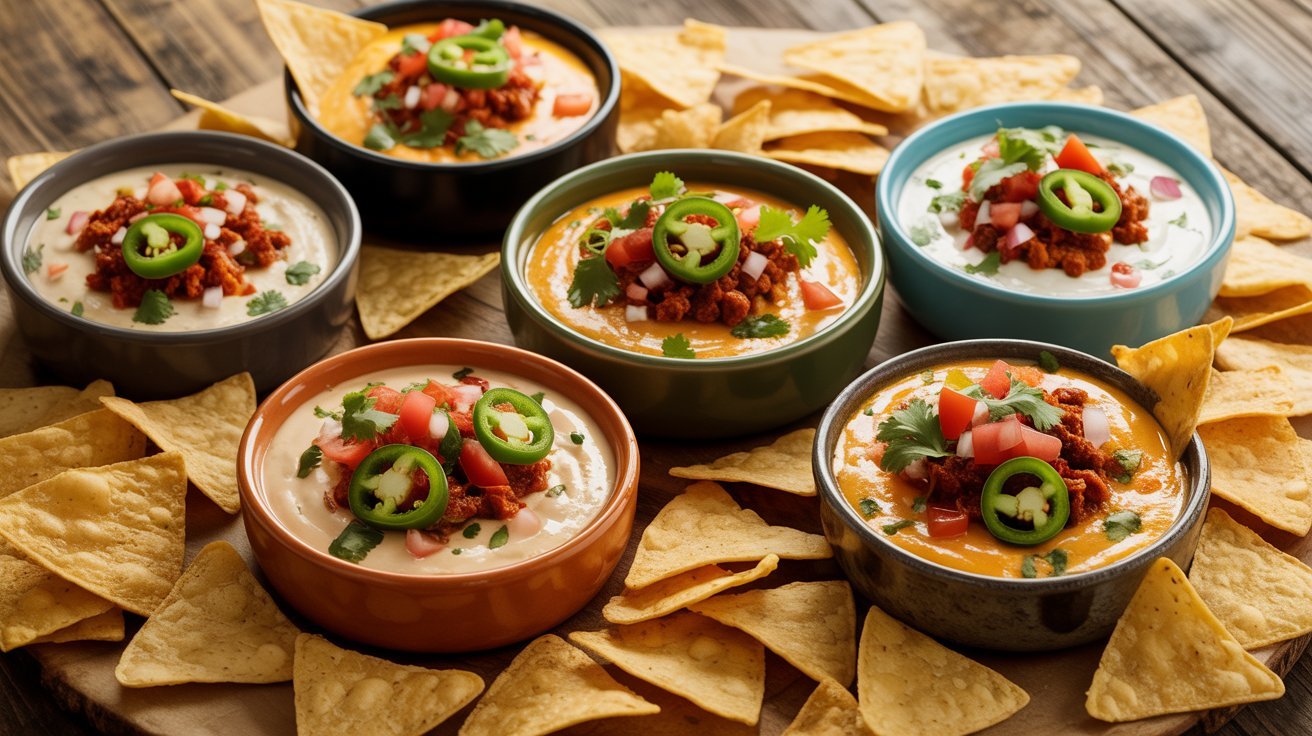
You can easily customize this recipe depending on your taste. Add cooked chorizo or seasoned ground beef for a heartier dip. Stir in extra jalapeños for more spice or use mild green chilies for a softer flavor. I’ve tried adding pepper jack cheese for extra heat, and it works beautifully.
If you want a thinner queso for drizzling over nachos, simply add a little more warm milk. Fresh cilantro, diced tomatoes, or sliced green onions also make excellent toppings before serving.
Serving or Storage Tips
This cheese dip tastes best when served warm and fresh right after cooking. The creamy texture stays smooth and scoopable, making it perfect for tortilla chips, fries, tacos, soft pretzels, or roasted vegetables. I’ve noticed that serving it in a small warmed bowl helps keep it creamy longer during parties or family dinners.
Store leftovers in an airtight container in the refrigerator for up to four days. When reheating, warm the dip slowly on the stove or in the microwave while stirring often. Add a splash of milk if the texture becomes too thick. In my experience, reheating gently helps restore the smooth restaurant-style consistency without separating the cheese.
Conclusion
Better Than A Mexican Restaurant Cheese Dip is the perfect combination of creamy texture, rich flavor, and easy homemade comfort. It brings that warm restaurant-style queso experience straight into your kitchen using simple ingredients and beginner-friendly steps. Whether you serve it for game day, taco night, parties, or casual snacking, this dip always feels fun and satisfying.
The smooth melted cheese, gentle spice, and fresh toppings make every bite irresistible. Save this recipe on Pinterest for later, share it with family and friends, and enjoy making it whenever comfort food cravings hit. Once you try it homemade, you may never want restaurant cheese dip again.
Better Than A Mexican Restaurant Cheese Dip
8
servings10
minutes15
minutes25
minutesThis creamy Better Than A Mexican Restaurant Cheese Dip is rich, smooth, cheesy, and loaded with bold flavor. Perfect for chips, tacos, parties, and easy family snack nights.
Ingredients
16 ounces white American cheese, cubed
1 cup whole milk
2 tablespoons unsalted butter
1 can diced tomatoes with green chilies
1 teaspoon garlic powder
1 teaspoon onion powder
1 small jalapeño, finely diced
¼ teaspoon cumin
¼ teaspoon salt
2 tablespoons chopped fresh cilantro
Tortilla chips for serving
How to Make it
- Start by cutting the white American cheese into small cubes so it melts evenly and quickly. In my experience, smaller cubes help prevent clumping and create a smoother dip. Measure all the remaining ingredients before turning on the heat because this recipe moves quickly once the cheese starts melting. Set a medium saucepan or skillet on the stove and add the butter along with the milk. Heat everything gently over low to medium-low heat while stirring occasionally. Avoid high heat because cheese can separate or turn grainy if it gets too hot too fast during cooking.
- Once the butter has melted into the milk, slowly add the cubed cheese a handful at a time while stirring constantly. This gradual process helps the cheese melt smoothly instead of forming lumps. I’ve noticed that patience makes a huge difference here. Let each handful melt almost completely before adding more. Continue stirring slowly with a wooden spoon or silicone spatula to keep the mixture silky and creamy. The dip should begin turning glossy and thick while still remaining smooth enough to pour. Keep the heat low during the entire melting process for the best texture.
- After the cheese has fully melted, stir in the diced tomatoes with green chilies along with the finely chopped jalapeño. Mix everything gently so the vegetables spread evenly throughout the dip. The tomatoes add freshness while the jalapeño brings a little extra warmth and spice. If you prefer a milder cheese dip, you can remove the jalapeño seeds before adding them. I’ve tried this both ways, and keeping a few seeds adds just enough heat without becoming overwhelming. Let the mixture simmer gently for a couple of minutes so all the flavors combine beautifully.
- Add the garlic powder, onion powder, cumin, and salt to the warm cheese mixture. Stir carefully until all the seasonings are fully blended into the dip. This is where the flavor really starts tasting like classic restaurant queso. The cumin adds subtle warmth while the garlic and onion create a rich savory balance. In my experience, seasoning gradually works best because different cheeses contain different amounts of salt. Taste the dip after stirring and adjust if needed. Continue cooking over low heat for another two to three minutes while stirring often to maintain the creamy texture.
- If the cheese dip feels too thick, slowly add a splash of extra milk while stirring continuously. The consistency should be smooth, creamy, and easy to scoop with chips. I’ve noticed that the dip naturally thickens as it sits, so slightly thinner is usually better while it is still hot on the stove. Keep stirring gently to maintain the glossy texture and prevent sticking at the bottom of the pan. Avoid boiling the dip because high heat can change the smooth consistency. Low and slow cooking always creates the best restaurant-style results.
- Turn off the heat and stir in the freshly chopped cilantro right before serving. The fresh herbs brighten the rich cheesy flavor and add beautiful color to the finished dip. Transfer the warm cheese dip into a serving bowl immediately while it is smooth and creamy. I’ve tried leaving it in the hot pan too long, and it tends to thicken faster that way. Arrange tortilla chips, sliced vegetables, or warm soft pretzels around the bowl for easy dipping. The glossy melted cheese and colorful toppings make this recipe look incredibly inviting on the table.
- Serve the cheese dip while still warm for the best flavor and texture. This dip pairs perfectly with crunchy tortilla chips, tacos, burritos, fries, or even grilled chicken. If serving at a party, keep the dip warm in a small slow cooker on the lowest heat setting. I’ve noticed this helps maintain the creamy consistency for hours without drying out. Stir occasionally and add a splash of milk if needed. The rich aroma, silky texture, and bold cheesy flavor make this recipe feel comforting, festive, and completely irresistible from the very first bite.
Notes
- Use low heat while melting cheese for the smoothest texture.
- Add extra milk slowly if the dip becomes too thick.
- Fresh cilantro adds bright flavor and restaurant-style freshness.
- Keep the dip warm in a slow cooker during parties or gatherings.
- Taste before adding extra salt because cheese already contains salt.
FAQ 1: What cheese works best for Better Than A Mexican Restaurant Cheese Dip?
White American cheese works best because it melts smoothly and creates the classic creamy restaurant-style texture. In my experience, freshly cubed deli-style cheese melts better than pre-shredded cheese, which can sometimes create a grainy texture due to added anti-caking ingredients.
FAQ 2: How do I keep cheese dip smooth and creamy?
The key is using low heat and stirring constantly while the cheese melts. Avoid boiling the dip because high heat can cause the cheese to separate. I’ve noticed that adding milk gradually also helps maintain the silky consistency people love in Better Than A Mexican Restaurant Cheese Dip.
FAQ 3: Can I make this cheese dip ahead of time?
Yes, this dip can be made ahead and stored in the refrigerator for up to four days. Reheat slowly on the stove or in the microwave while stirring often. Add a splash of milk during reheating to bring back the creamy restaurant-style texture.
FAQ 4: What can I serve with Better Than A Mexican Restaurant Cheese Dip?
This dip pairs perfectly with tortilla chips, nachos, tacos, burritos, fries, soft pretzels, or fresh vegetables. It also works well drizzled over baked potatoes or grilled meats. The creamy cheesy flavor complements both snacks and full meals beautifully.
FAQ 5: Can I make this recipe spicier or milder?
Absolutely. Add extra jalapeños, hot sauce, or pepper jack cheese for more heat. For a milder version, use mild diced green chilies and remove the jalapeño seeds. I’ve tried both versions, and the flavor stays rich and delicious either way.




One Comment